Text Shades in Photoshop
Step1: First of all create a new file and write something .Step2: Now select the marquee tool and make a selection on the text.
Step3: Create a new layer now
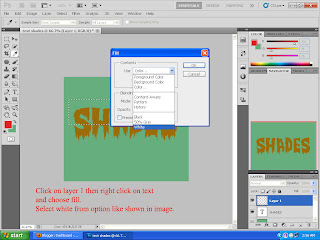
Step4: Click on layer1 now right click on the text and choose fill.Now Select white from option and click ok.
Step5: Now deselect the selection or press Crl+d.
Right click on layer 1 and choose Create Clipping Mask.
Step6: Here you get the Shade...Wallpaper
You can change opacity and get more shades...
Your Comments Here.....


No comments:
Post a Comment